Bilberry sewing details - part 1 - prepping and shoulder seam
- Malena
- Sep 3, 2025
- 2 min read
In the PDF pattern for the Bilberry Top, you’ll find step-by-step sewing instructions (both an English and Swedish version) with both text and illustrations to guide you through the process. But sometimes, it’s nice to see real-life photos of how certain steps come together—and that’s exactly what this blog series is for!
In this series of four blog posts, I’ll be highlighting specific sewing steps from the Bilberry Top. These aren’t full sew-alongs, but rather a collection of detailed photos, extra tips, and little techniques that I find especially helpful when sewing this pattern.
Whether you're a visual learner or just enjoy seeing how others approach the process, I hope these posts give you that extra bit of clarity and confidence when sewing your own Bilberry Top.
Let’s dive into the first detail!
I will mainly show the D-cup option (turquoise/green fabric with white dots) here, but if I use another technique, I’ll show the B-cup option (light blue fabric) as well.


You can add a fusible interlining to the whole neck facing if you prefer the neckline to lie flat. If you want a softer and drapier look, or your fabric is a bit more stiff, you can just add a strip of fusible interfacing where the pleat will be sewn. This helps prevent the fabric from tearing at the pleat end.

Prepare the front facings by folding and pressing along the fold line marked on the pattern.

Even though some knit fabrics don’t need to be overcast, I always prefer to do that with an overlocker. If you're using a regular sewing machine, you can use a zigzag stitch. At this stage, you only need to overcast the seams that are sewn—others will be overcast as you continue sewing the garment.

The shoulder seam needs to be reinforced in some way. On the D-cup option, I prefer to use a thin fusible strip (that has a bit of stretch). This won’t add much bulk to the seam, which is helpful since the front and back pieces will later be sewn to the side panels and cross over the shoulder seam.

Shoulder seam on front and back pieces sewn together.

Shoulder seams on front side and back side sewn together.
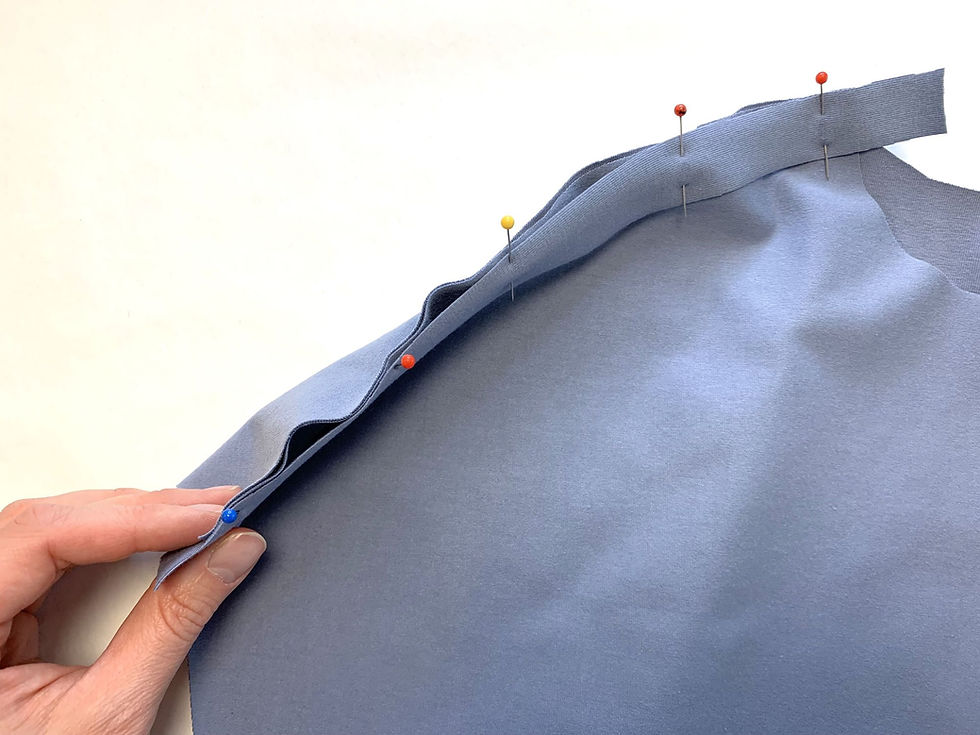
For the B-cup option, I’ve used a fabric strip cutted along the grainline (is has less stretch then). I usually make it a bit wider when sewing so it’s easier to handle, then trim it down afterward. There is a template pattern piece for this. The strip should be slightly shorter than the shoulder seam, so when it’s sewn in, it adds a gentle stretch that helps prevent the shoulder from stretching out when worn.


Comments