Bilberry sewing details - part 2 - neckline
- Malena
- Sep 3, 2025
- 2 min read
This is the second post in a four-part blog series where I highlight selected sewing steps from the Bilberry Top PDF pattern. These posts aren’t full sew-alongs, but instead focus on specific details that benefit from real-life photos and a few extra tips.
In this post, I’ll focus on how to sew the neckline! These photos are of the D-cup version, but the making and sewing on these steps are exactly the same for the B-cup version.

Start by prepping the neckband. Since the neckline is designed to be worn open, the neckband should NOT be sewn into a loop as on a regular T-shirt neckline. Instead, sew along the short ends.

I find it helpful to fold the seam allowance and turn it to get a sharp corner—you might even use a needle to gently pull out the corner if needed.
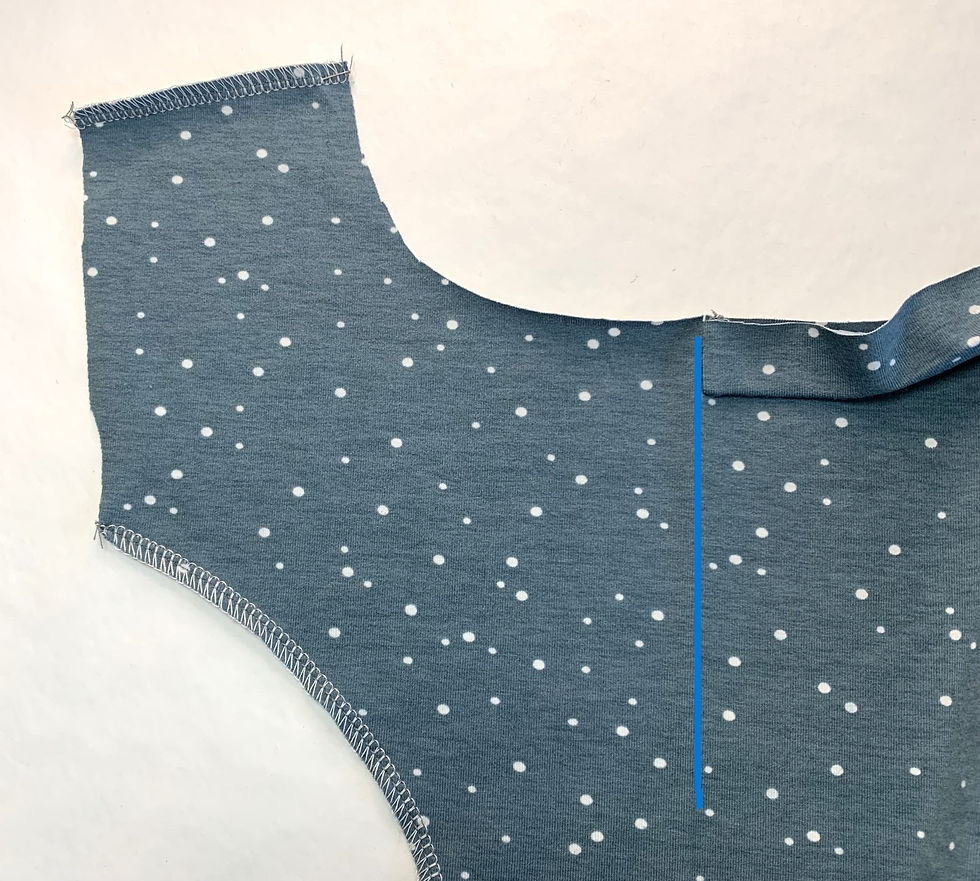
Then, place the neckband at the fold line of the neck facing (that you pressed in an earlier step, here highlighted with a blue line). Pin the neckband along the neckline all the way to the fold line on the opposite side. The neckband is 85% of the neckline length, so it is shorter! It should be slightly stretched when pinned and sewn—this helps the neckband to lie flat and prevents it from stretching out the neckline when worn.
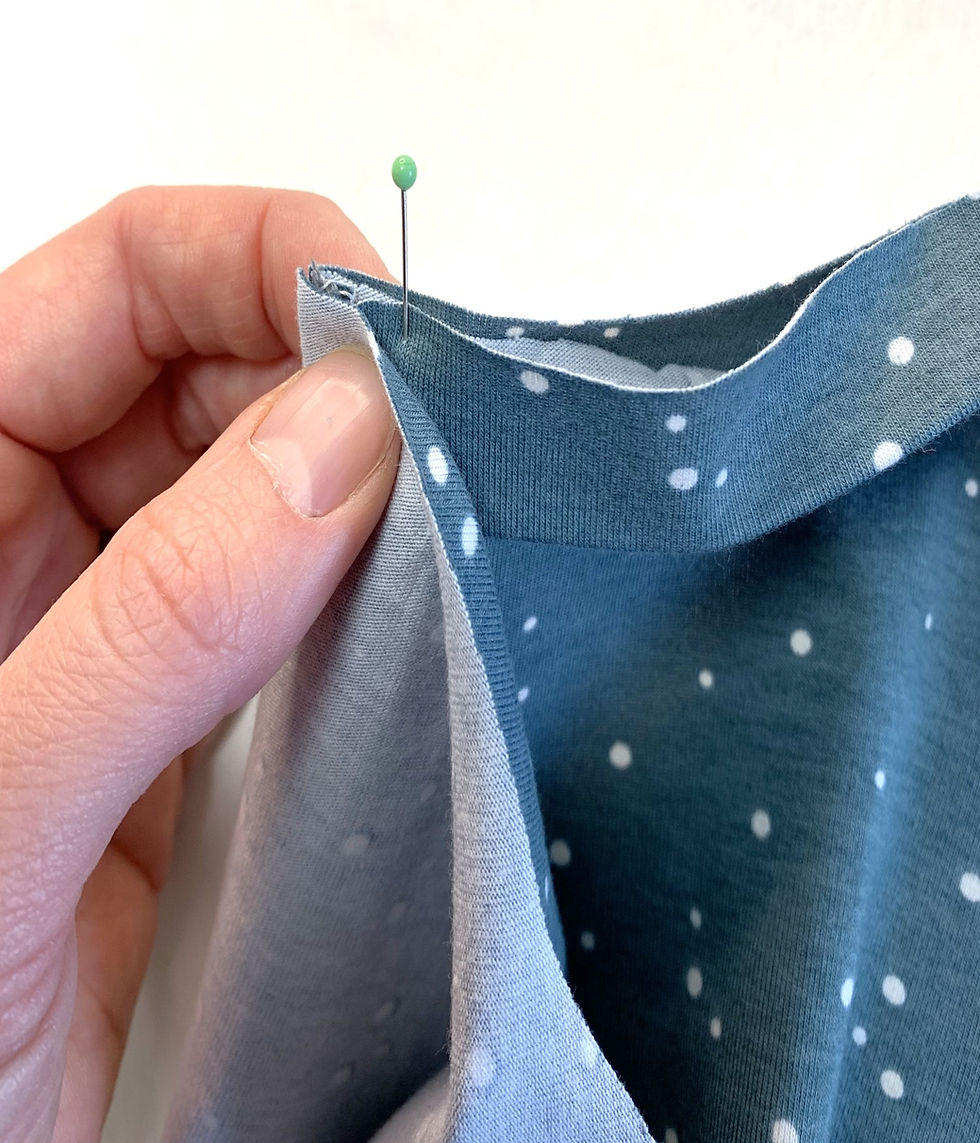

I like to pin the entire neckband to the neckline first, just to make sure the stretch is evenly distributed. Then, I fold over the neck facing and re-pin that part. The neckband is now “sandwiched” between the neckline and the neck facing. Make sure the facing is folded tightly at the neckband edge.

Then it’s time to sew the neckline in one go!

If your machine has trouble starting at the edge because of all the fabric layers, it might be easier to start in the middle and sew out toward the edge, then do the same in the opposite direction—as the arrows show.

As a final step, turn the neckline right side out and give it a good press. In this case, that means lots of steam but only light pressure. Since the neckline is worn folded open and visible, we want to avoid shiny iron marks on the fabric!


Comments